How to Attach the PoE HAT to Raspberry Pi 3B+
Learn how to to put together the PoE HAT with your Raspberry Pi 3B+
Written By: Cherie Tan

Difficulty
Easy
Steps
6
The Raspberry Pi PoE HAT is a handy add-on board that powers the Raspberry Pi 3 Model B+ using an Ethernet cable. In addition, it has a 25mm fan that provides cooling to the Pi and its CPU.
In this guide, we will show you how to connect it to the Pi and a PoE-capable network router. Please note that the HAT will only work with PoE-capable network routers or switches, standard routers or switches will not work here
The full list of parts required are the PoE HAT, Raspberry Pi 3B, 4 stand-offs, 8 screws, an ethernet cable, and a PoE-capable network router.
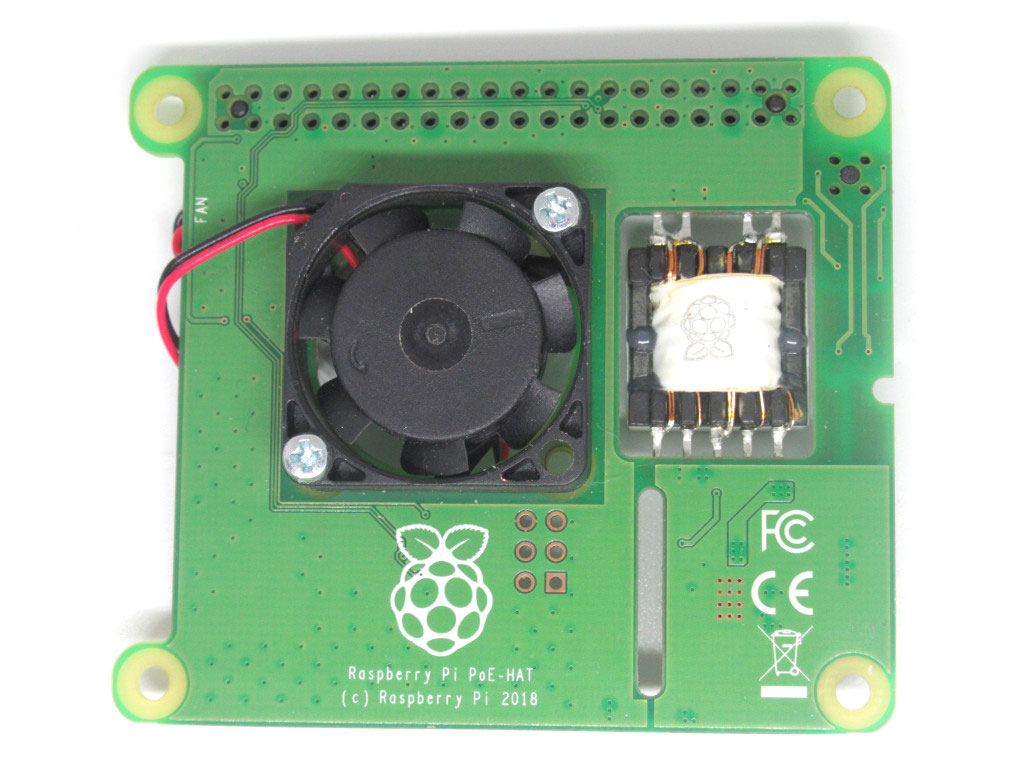
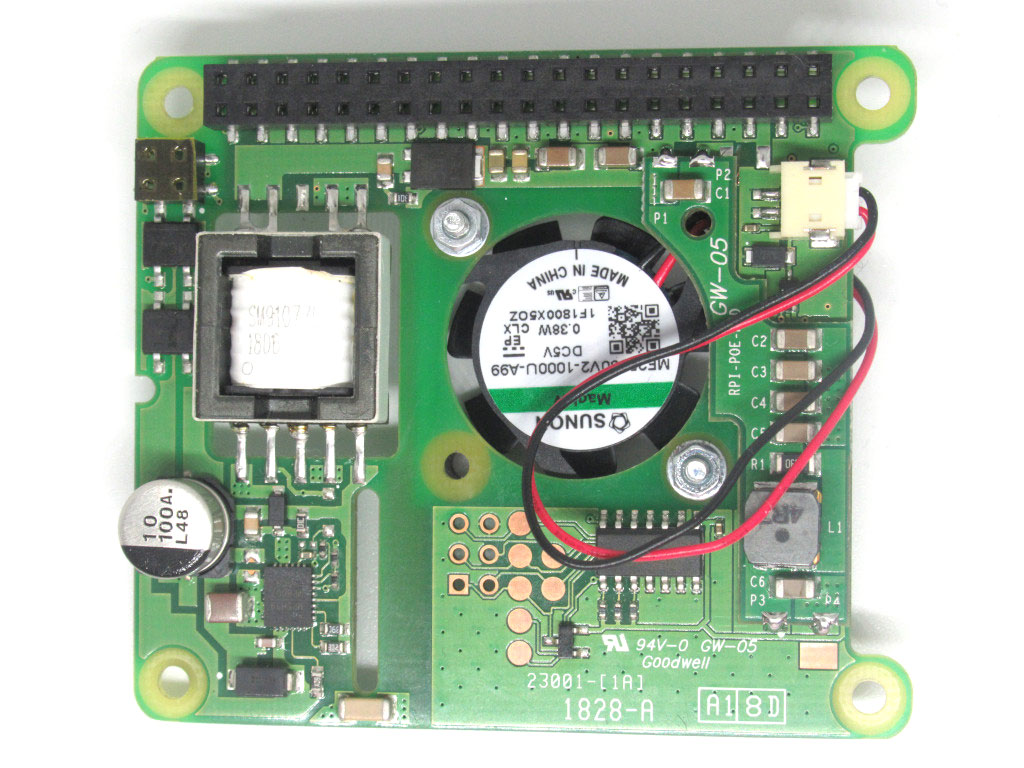
First let's inspect the PoE HAT and some notable parts of it. It has a mini 25mm fan attached to it, four holes to mount it to the Pi with screws and stand-offs, a 2x20 GPIO female header, and a 4 pin surface mount connector.
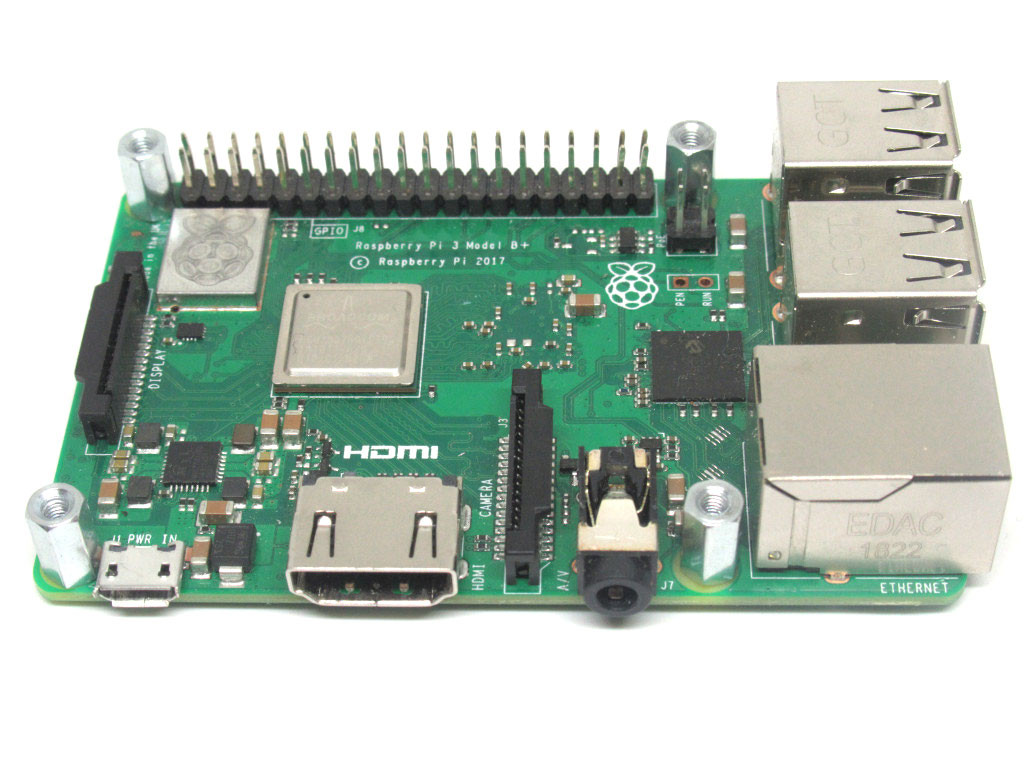
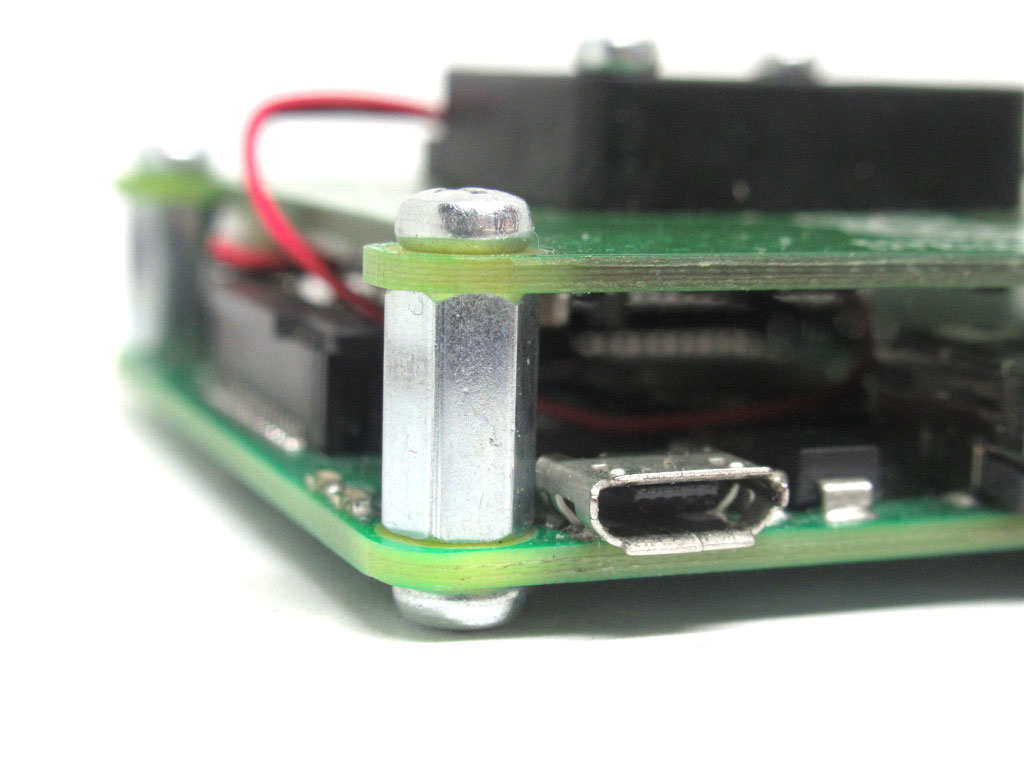
Now, carefully align the four stand-offs to the Raspberry Pi 3B+ as shown.
If you would like to add heat sinks to the Raspberry Pi, it will fit nicely even with the PoE HAT.
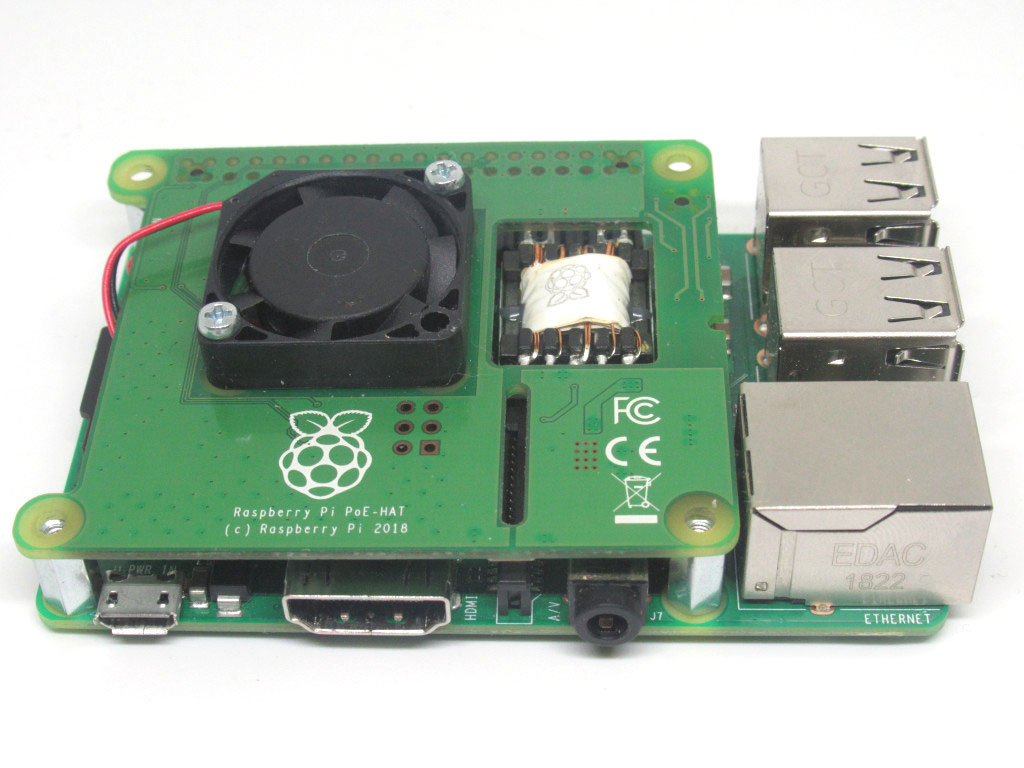
Next, carefully attach the PoE hat to the Raspberry Pi, and it should be aligned with the 2X20 GPIO header as well as aligned with the 2x2 header.


Flip the Raspberry Pi to the back.
Attach screws to the stand-offs on that side as well. This will keep it securely in place.
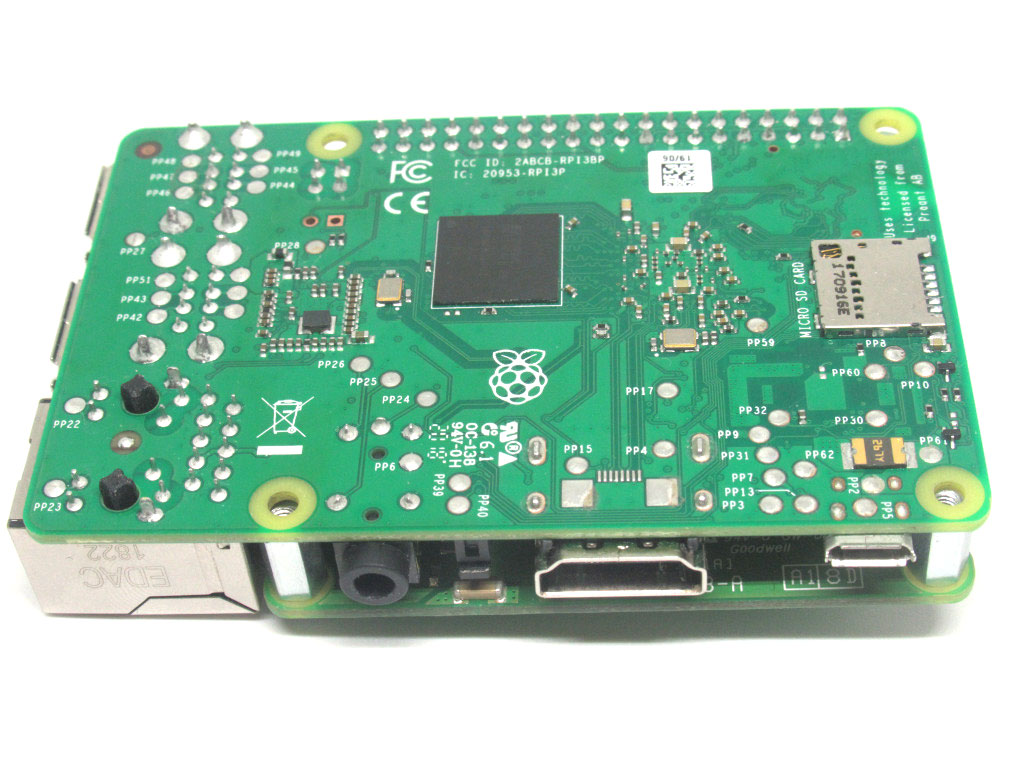
Insert microSD card into the microSD card slot.
If you would like to add peripherals such as a wireless keyboard to the Pi, attach it to the USB port now.
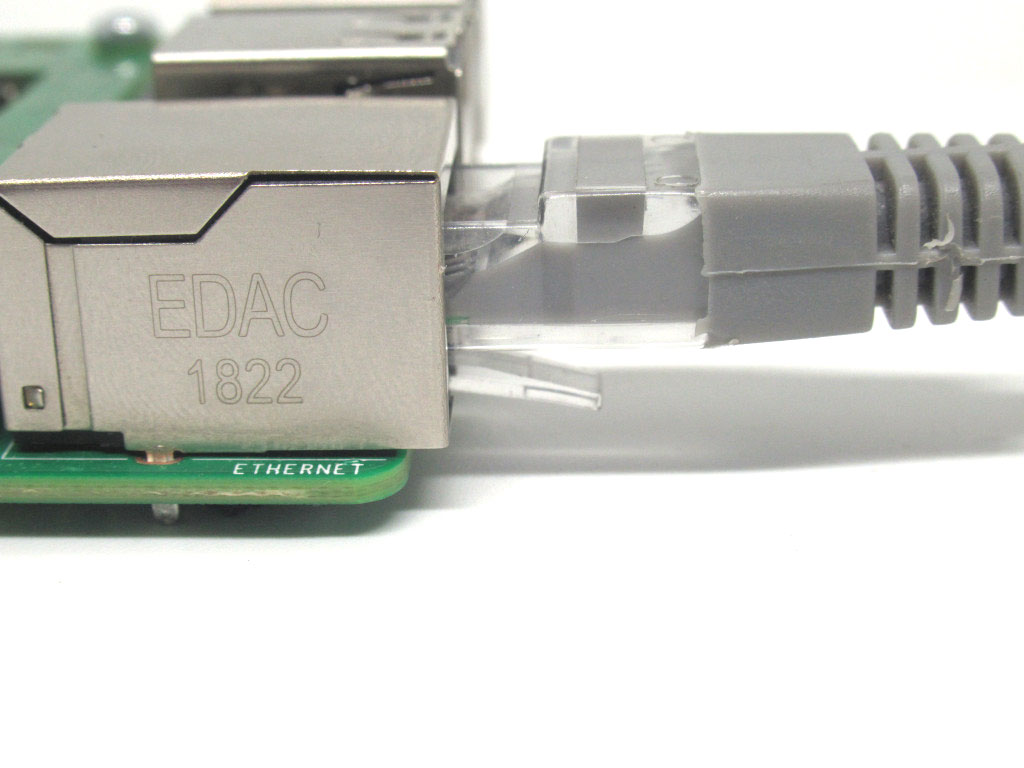
Finally, connect one end of the ethernet cable to the ethernet port on the Raspberry Pi 3B+.
Connect the other end of the ethernet cable to your PoE-capable network router.
When disconnecting the PoE HAT from the Raspberry Pi, pull the 4-pin surface mount pair connector off gently and evenly. Do not pull one end of the connector off before the other.